


Acrylic pom-poms with eyelet: creative DIY ideas 🧶
Acryl-Pompons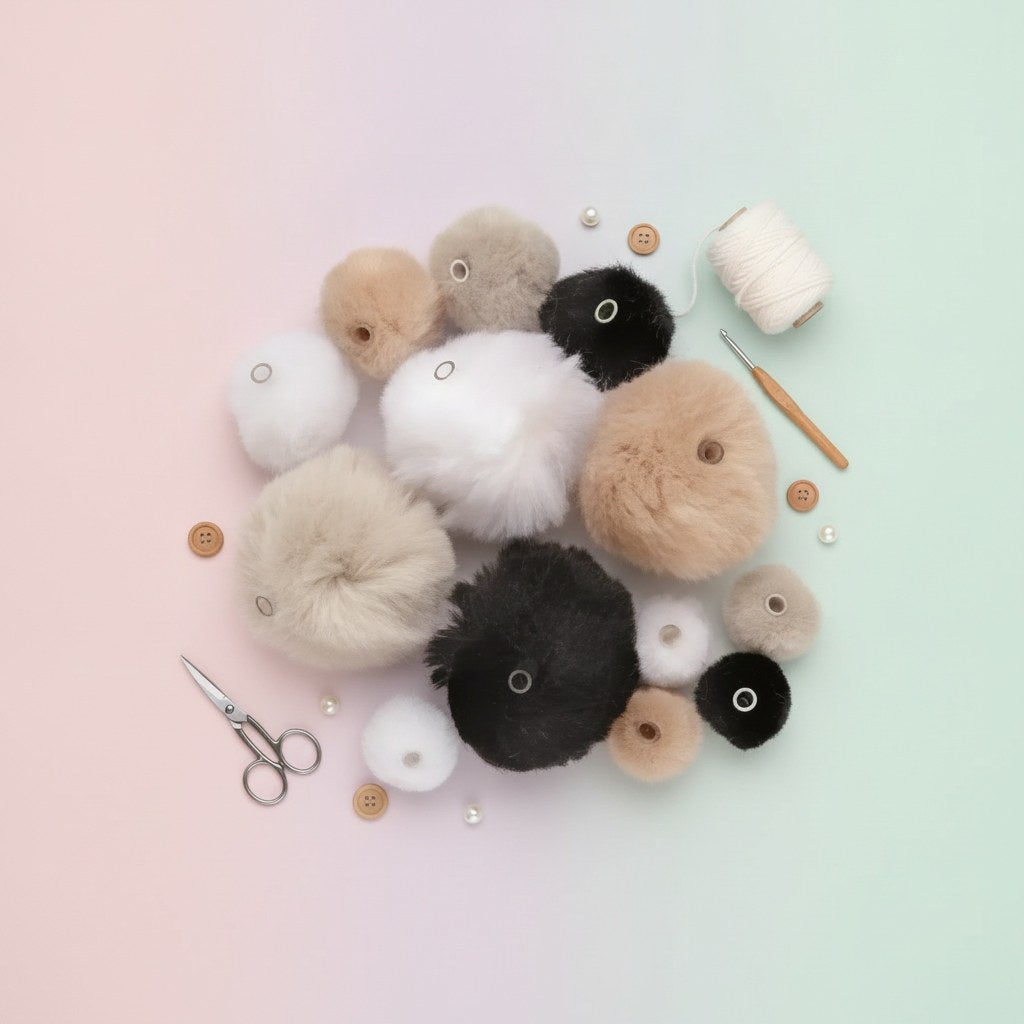
Acrylic pom-poms with eyelet: creative DIY ideas 🧶
Sometimes all it takes is a small, fluffy detail to turn something simple into your personal favorite piece.
Would you like to make a bag charm, decorate a gift with love, or add more texture to your decor? With acrylic pom-poms with an eyelet, you can add small accents in no time at all. We will show you what you can create with this color mix of black, white, and gray – and how to turn them into a handmade charm step-by-step.
Small pom-poms, many creative possibilities
The acrylic pom-poms with eyelet, approx. 45 pcs, black/white/gray from Kidis Art cost CHF 4.90. The neutral colors match natural materials, simple accessories, and colorful craft projects alike.
What is the benefit of the eyelet for crafting?
Each pom-pom has a metal eyelet sewn into the fiber core. You can pull a suitable thread or a fine string through this. This allows the pom-pom to be attached without having to sew through the fluffy fibers. Check before you start whether your string fits through the eyelet.
Combining black, white, and gray
- Simple: Use only one color for a calm look.
- High-contrast: Combine black and white pom-poms on a gray background.
- Playful: Supplement the neutral color mix with colorful ribbons from your craft stash.
Crafting tutorial: your fluffy bag charm
This small charm is an uncomplicated DIY project for a cozy afternoon of crafting. You can attach it to a bag or give it away as a handmade gift.
List of materials
- Two to three acrylic pom-poms with eyelet
- A key ring
- A thin, sturdy string that fits through the eyelets
- A pair of scissors
- Optional: matching beads from your craft stash
You will need a key ring, string, scissors, and optional beads in addition to the pom-pom set.
Step-by-step to the charm
- 1. Choosing colors: Lay your pom-poms next to each other and decide which combination you like.
- 2. Preparing the strings: Cut a piece of string for each pom-pom. Plan enough length for attachment and knots.
- 3. Threading the pom-poms: Pull one string through each metal eyelet. If you like, add a bead above the pom-pom.
- 4. Attaching to the ring: Knot the ends of the strings to the key ring. Different string lengths ensure that the pom-poms hang in a staggered, loose fashion.
- 5. Checking the hold: Pull carefully on each connection. Trim excess ends only once everything is holding well, and leave a little string behind the knots.
Our crafting tip: Keep the charm relatively short so it is less likely to get caught on things in everyday life.
What else can you do with acrylic pom-poms with eyelet?
Wrapping gifts personally
Thread a pom-pom onto a fine gift ribbon and tie it around your parcel. Together with plain wrapping paper and a handwritten name tag, it creates a lovely presentation. The pom-pom can then be used for another craft project afterwards.
Creating a small decorative garland
Thread several pom-poms onto a suitable string. You can determine the spacing by knotting before and after the eyelets. Alternating black, white, and gray results in understated decor for your craft shelf.
Decorating textile accessories
Sew individual pom-poms through the eyelet onto a homemade pouch or a fabric bag using matching sewing thread. For frequently used accessories, check regularly to ensure the attachment is still secure.
Good to know when crafting with children
Pom-poms and other craft accessories can contain small parts that could be swallowed. Keep them out of the reach of small children and supervise children while crafting. Projects with strings are not baby toys and do not belong on a baby's crib.
What you need for this
Up for your next fluffy DIY? This pom-pom set forms the creative foundation for the ideas presented. You can find the additional accessories in the material list above.
